apt-get update
Compiler installieren
apt-get install build-essential cmake -y
Unterstüzung für Kartenlesegeräte
apt-get install libssl-dev libpcsclite-dev libncurses-dev libusb-dev libusb-1.0-0-dev pcscd pcsc-tools -y
apt-get install mercurial cvs subversion -y
cd /tmp/
svn checkout https://svn.streamboard.tv/oscam/trunk oscam-svn
cd oscam-svn
//
cmake -DHAVE_LIBUSB=1 -DHAVE_PCSC=1 -DWEBIF=1
make
cp oscam /usr/local/bin
cd ..
rm -rf oscam-svn
cd /usr/local/bin
sudo chmod 755 oscam
Anschließend fügen wir die Configs für Oscam in /usr/local/etc/ hinzu
cd /usr/local/etc/
Hier kommt die CFG
nano oscam.conf
[global]
logfile = /tmp/oscam.log
disableuserfile = 0
fallbacktimeout = 4900
clientmaxidle = 60
cachedelay = 120
bindwait = 20
netprio = 0
nice = -1
maxlogsize = 100
preferlocalcards = 1
saveinithistory = 1
[dvbapi]
enabled = 1
au = 1
pmt_mode = 4
listen_port = 9000
user = tvheadend
boxtype = pc
[webif]
httpport = 8888
httpuser = Username
httppwd = Password
httprefresh = 10
httpallowed = 127.0.0.1,192.168.1.1-192.168.255.255
nano oscam.user
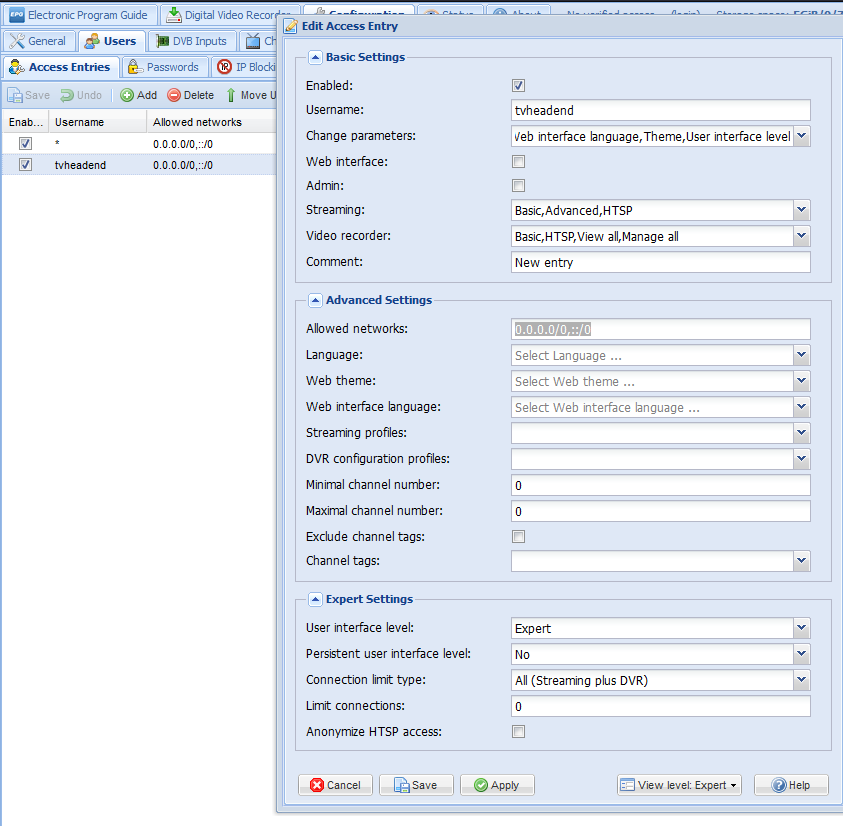
[account]
user = tvheadend
pwd = tvheadend
monlevel = 4
group = 1
au = 1
nano oscam.server
Hier nach erstellen wir für eine Service-Datei zum autostart
nano /lib/systemd/system/oscam.service
[Unit]
Description=OScam
After=network.target
Requires=network.target
[Service]
Type=forking
PIDFile=/var/run/oscam.pid
ExecStart=/usr/local/bin/oscam -b -B /var/run/oscam.pid
ExecStop=/bin/rm /var/run/oscam.pid
TimeoutStopSec=1
Restart=always
RestartSec=5
StartLimitInterval=0
[Install]
WantedBy=multi-user.target
sudo chmod 644 /lib/systemd/system/oscam.service
systemctl enable oscam.service
systemctl daemon-reload
systemctl start oscam.service